April 13, 2020, 12:01 p.m.
pfSense as a WiFi Repeater and Firewall
Installation of pfSense to a USB Flash Drive
I don’t have a spare Hard Disk Drive to test out pfSense, but I have a unused 4GB USB Flash Drive. Instead of installing pfSense to an HDD, I have decided to install it to my 4GB Flash Drive. Another problem is, the installation medium. In the past years I have used a CD or DVD to install operating systems, but recently I just use USB Flash Drives. But, I don’t have enough flash drives! So, I will use VirtualBox as my PC and Installation Medium.
Requirements
- Host machine (where VirtualBox is installed and ready to use)
- VirtualBox Extensions Pack (to enable us to use the USB devices of our host machine)
- pfSense Installation ISO File (for CD/DVD)
- USB Flash Drive (4GB is enough)
- The machine that will be running pfSense (in my case it will be the HP Thin Client T610), must support x86_64 architecture.
Steps
After downloading VirtualBox, you need to install it, then download the VirtualBox Extensions Pack from their website. You may also need to grant your user access to virtualbox group for it to use the USB devices. For GNU+Linux, $ sudo adduser $USER vboxusers, don’t forget to log out or reboot your machine.
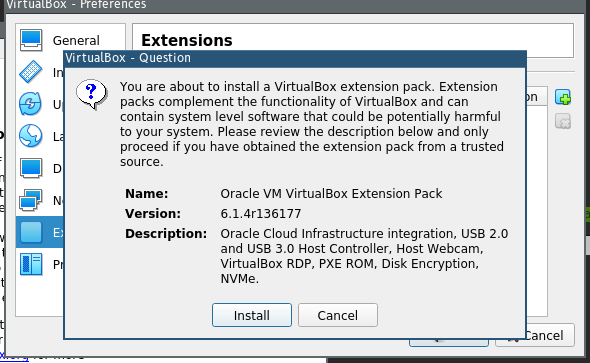
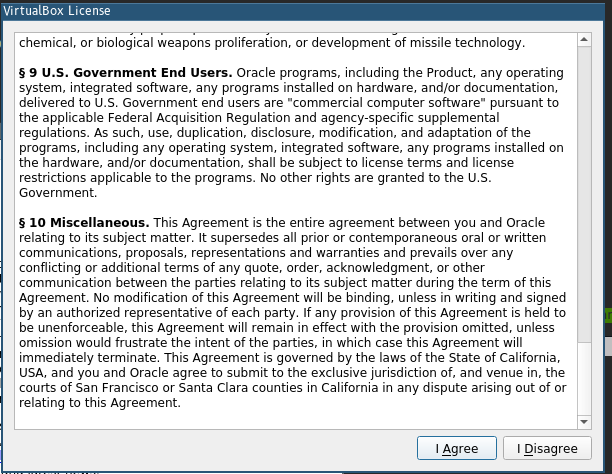
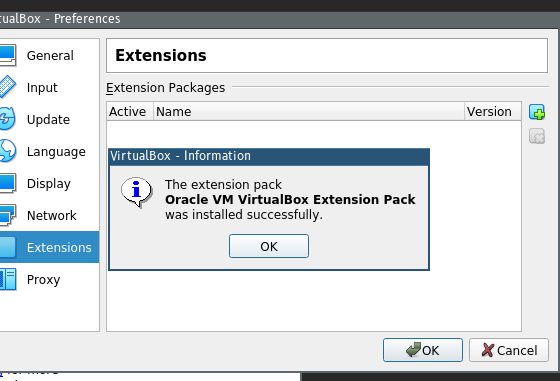
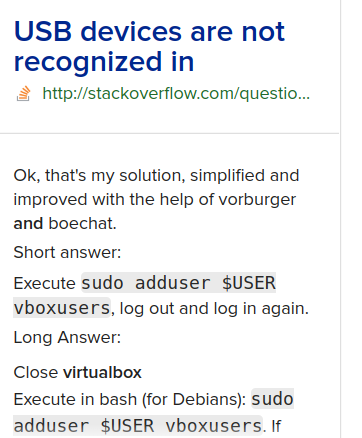
I assume that you have downloaded your pfSense Installation Image (ISO), create a new Virtual Machine in VirtualBox and select FreeBSD x64.
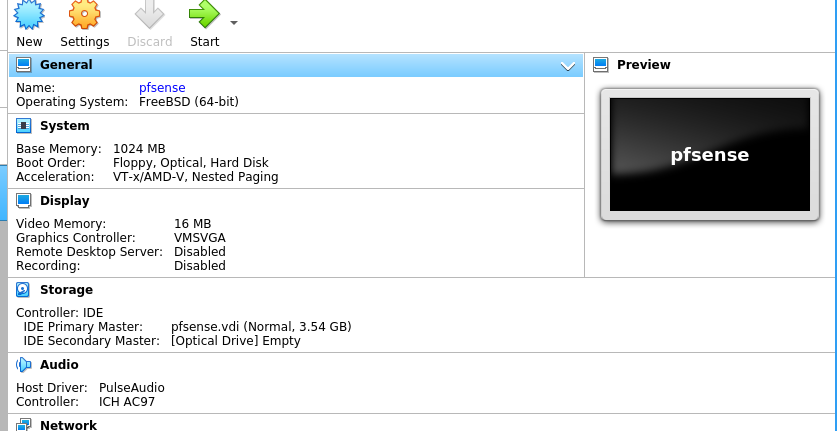
Plug in your USB Flash Drive, VirtualBox should be able to detect it.
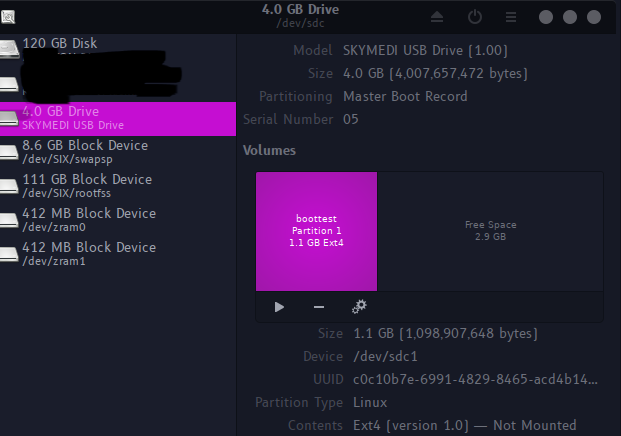
NOTE: The data on your flash drive will be lost, so please backup before proceeding.
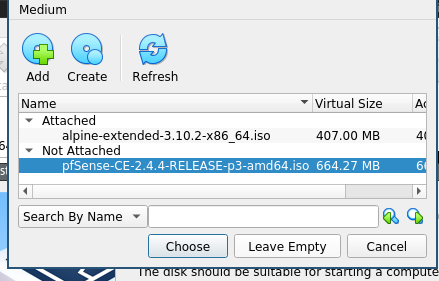
Select the boot device to be the pfSense ISO image, be sure that the USB Device is detected inside the virtual machine.
Follow the installation steps below.
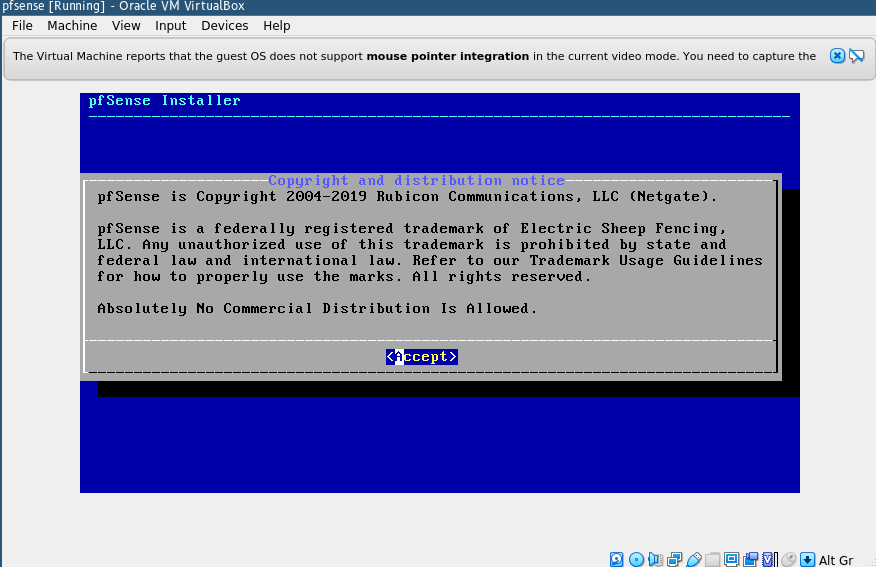
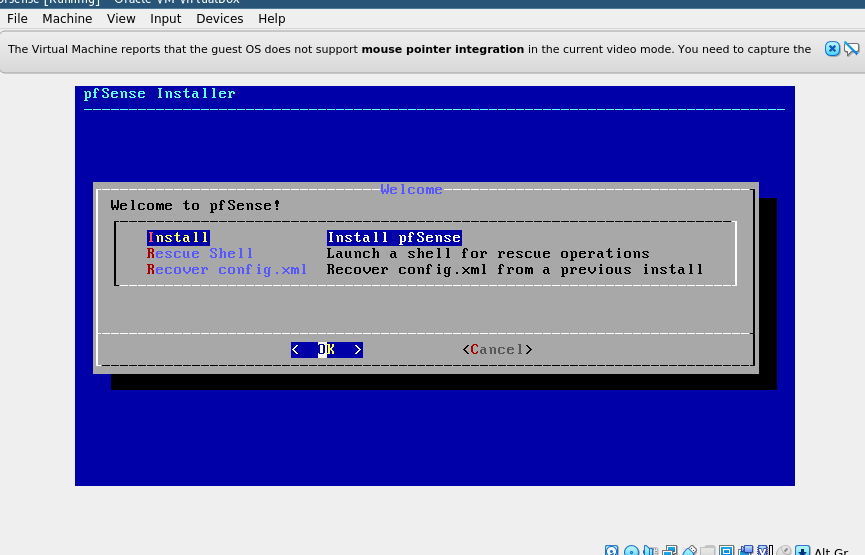
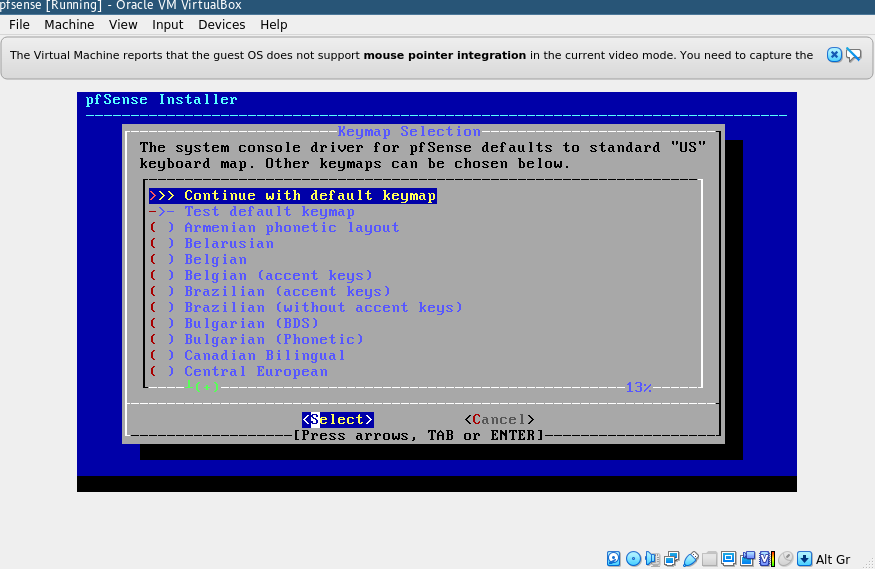
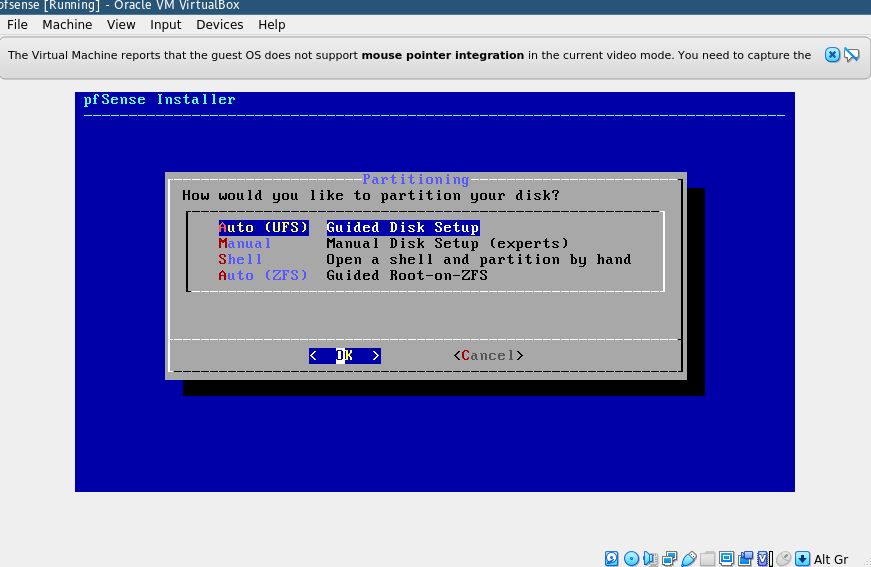
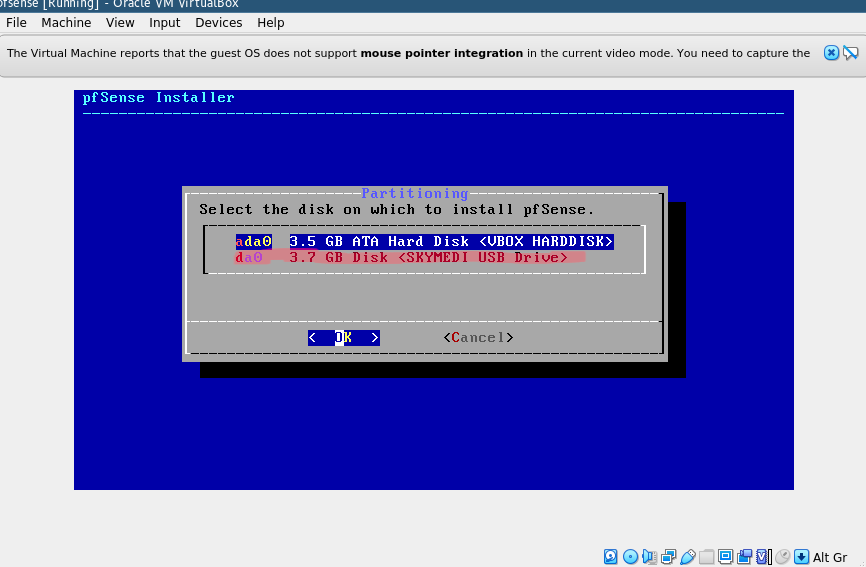
NOTE: da0 is my USB Flash Drive, detected in VirtualBox.
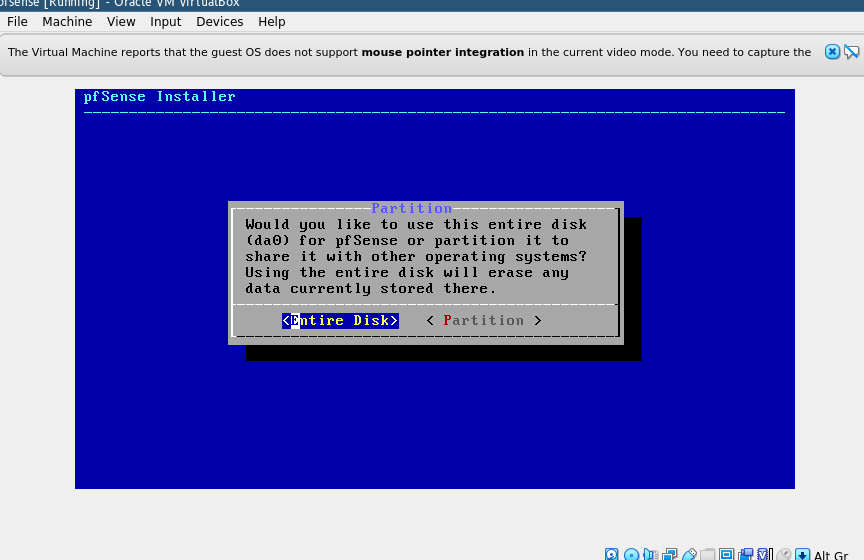
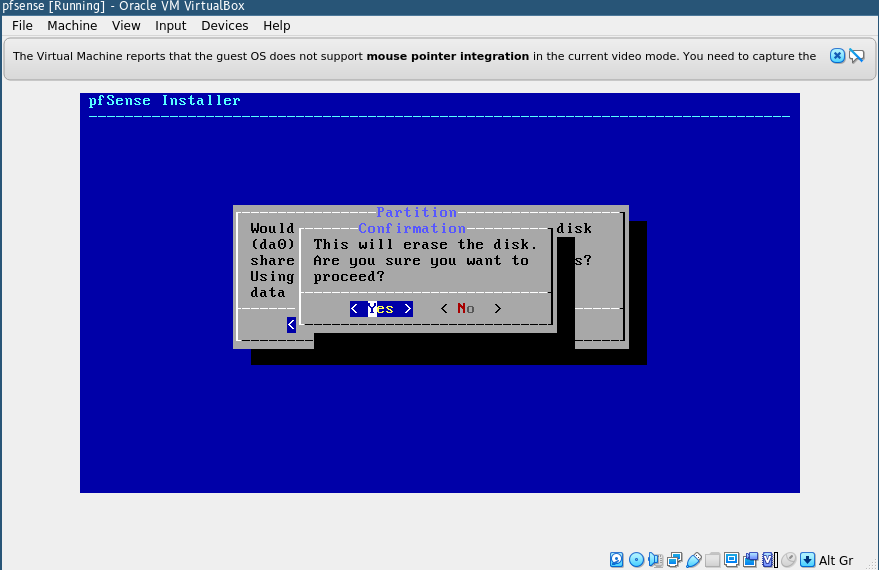
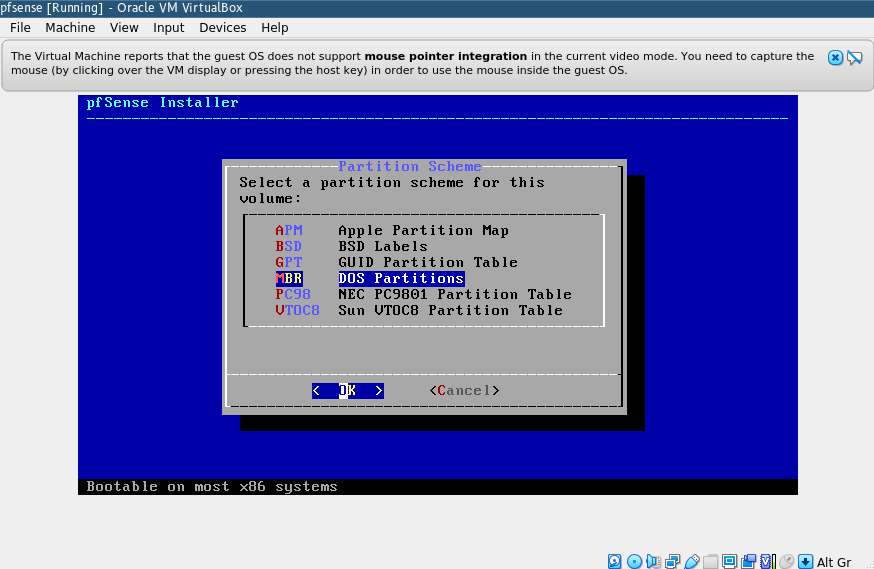
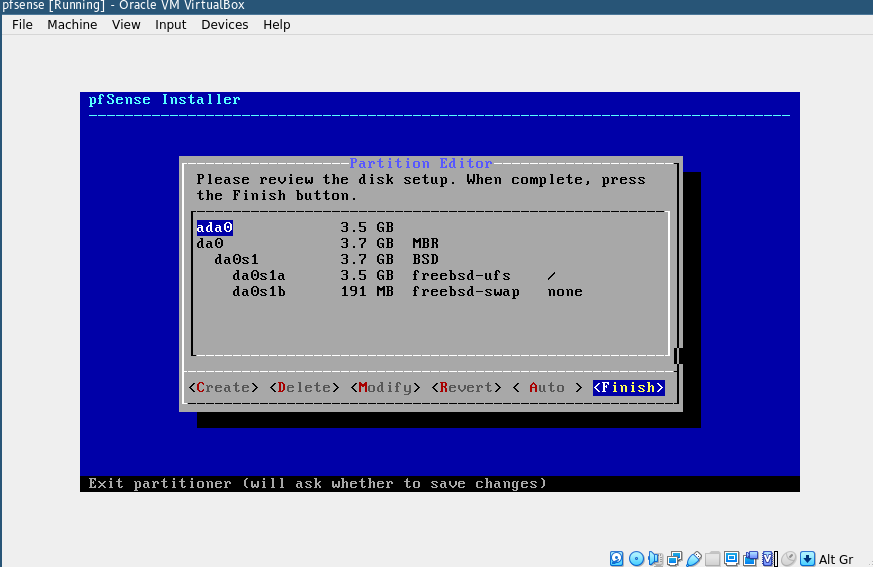
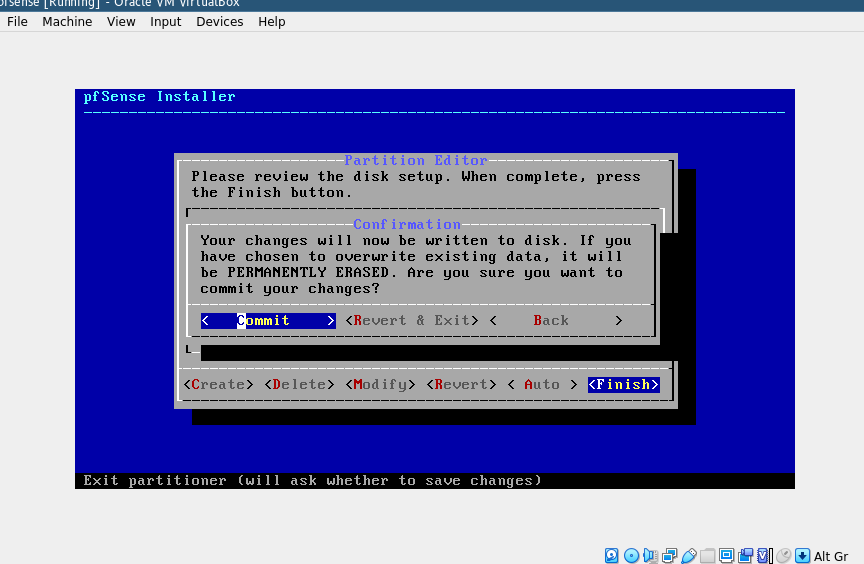
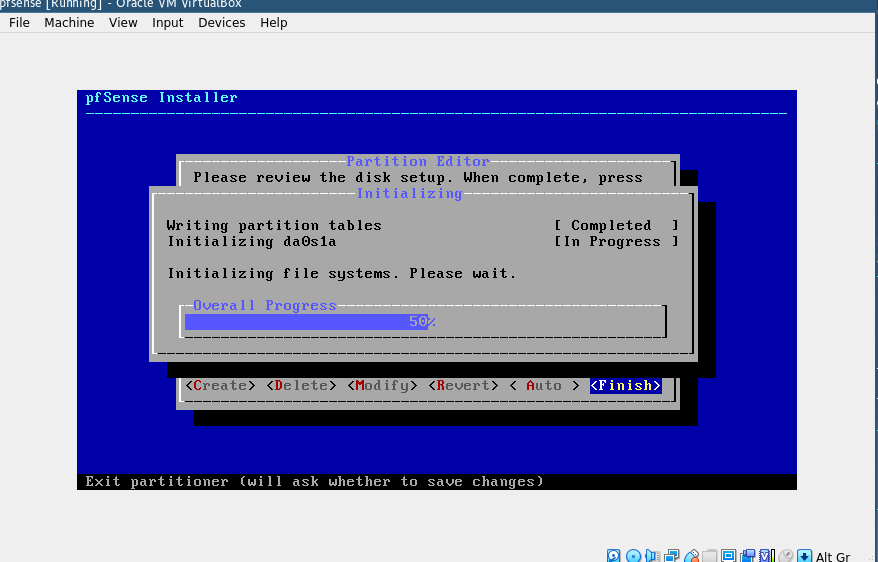
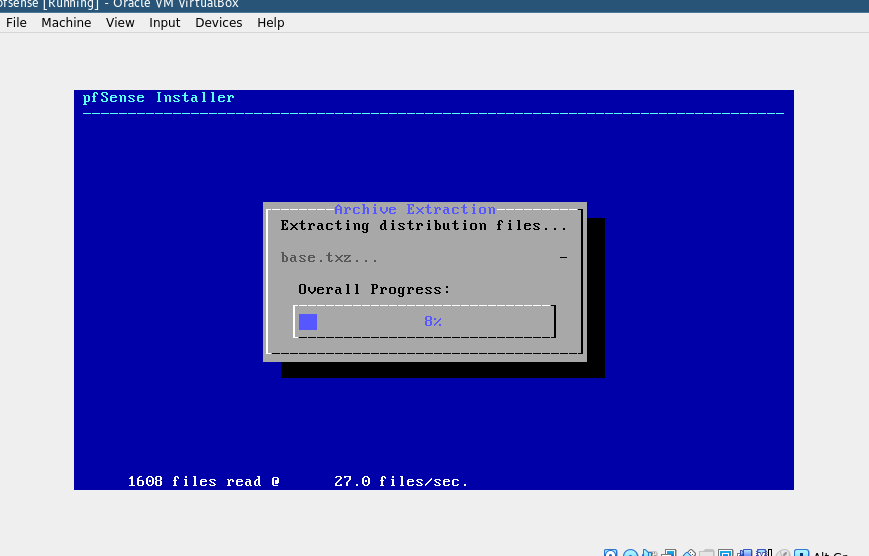
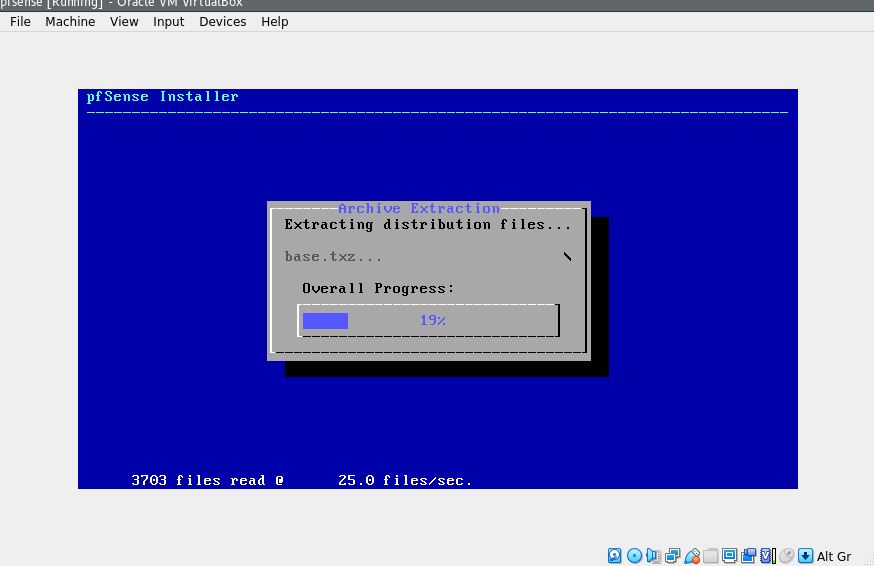
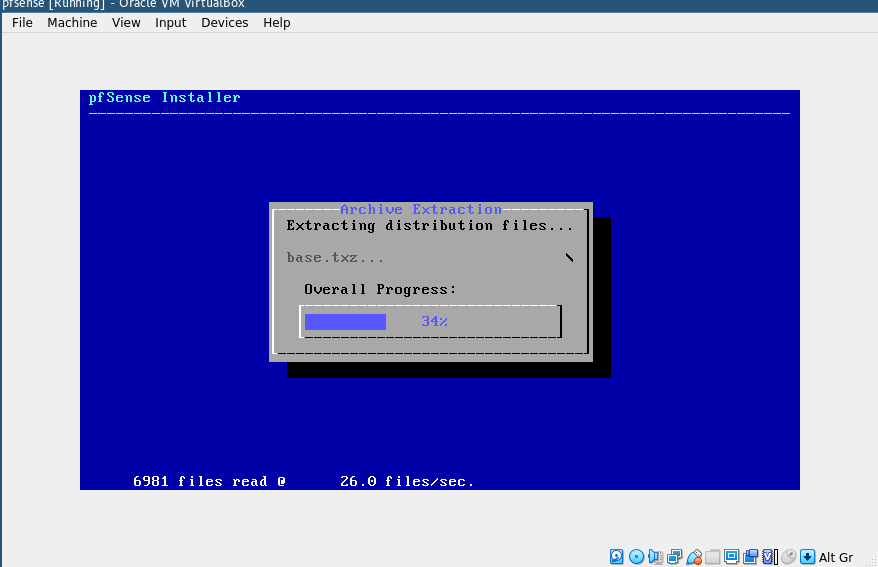
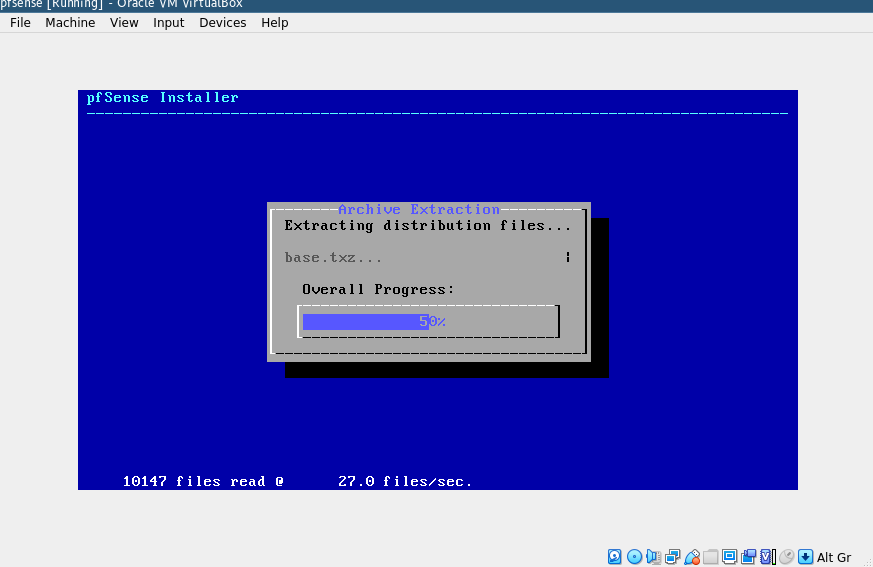
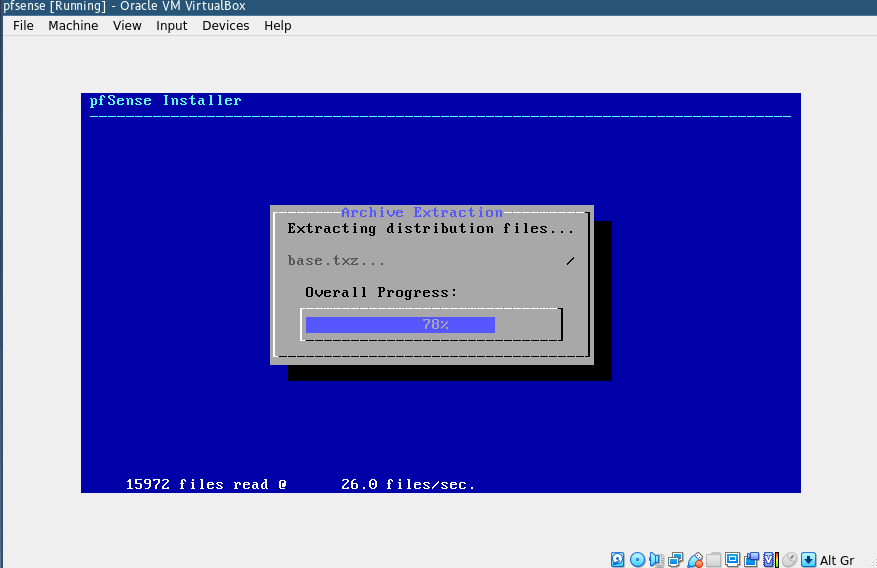
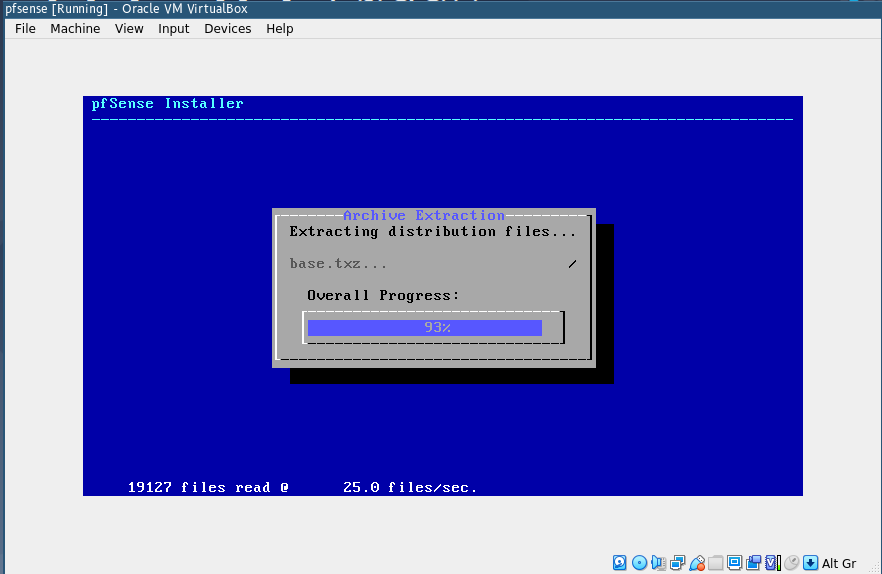
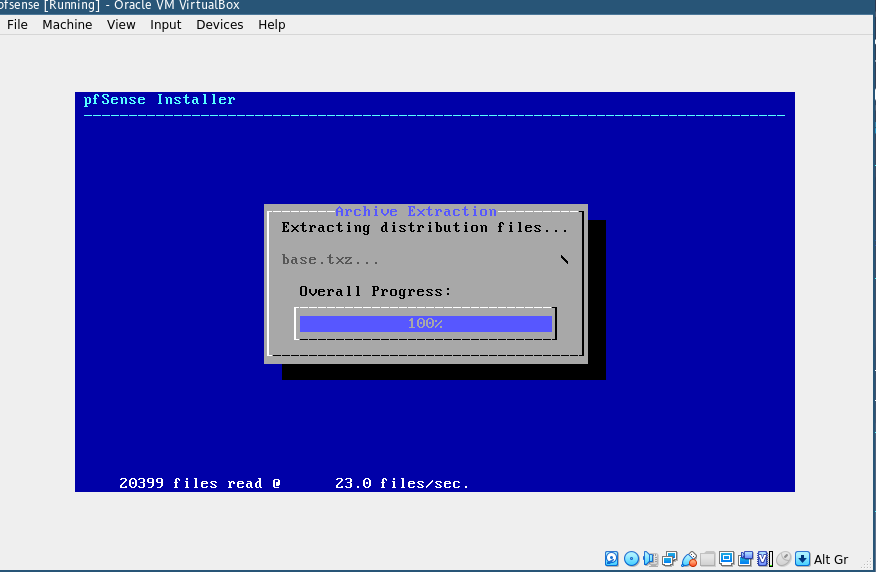
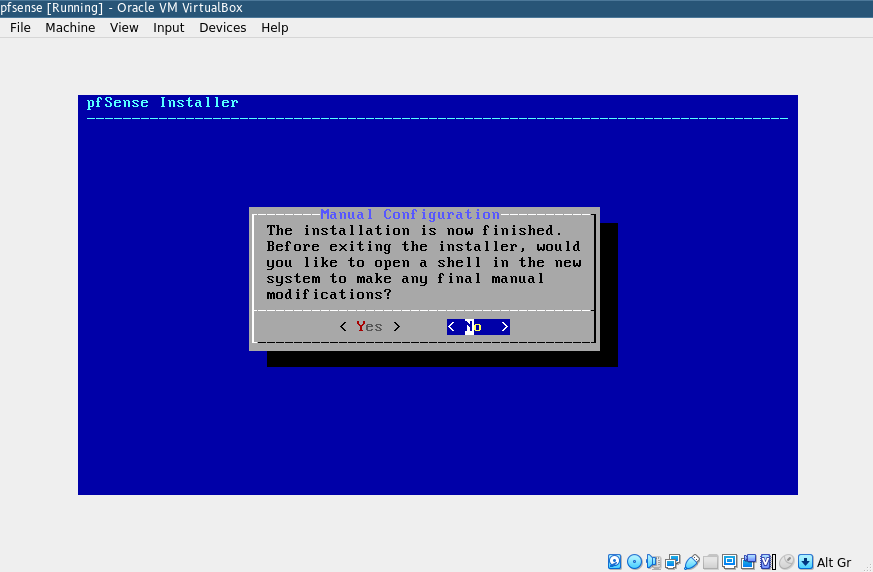
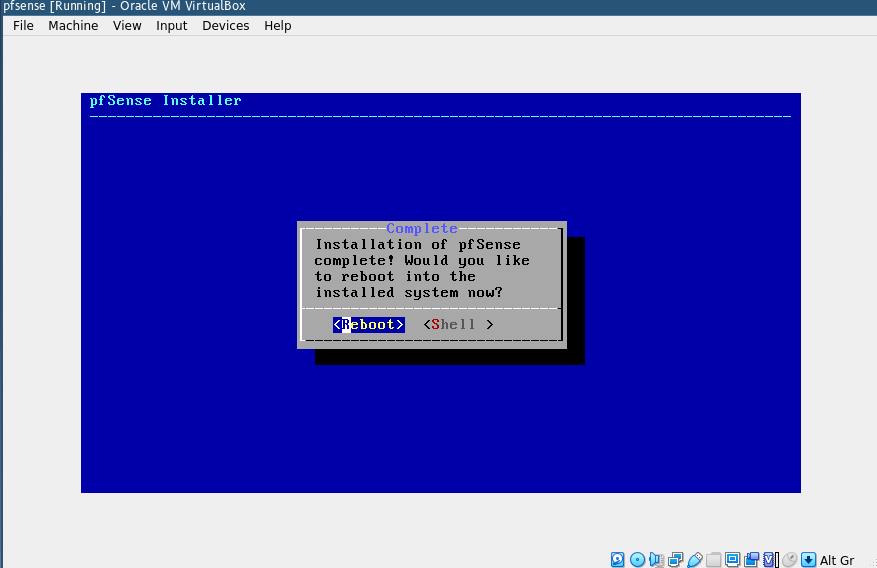
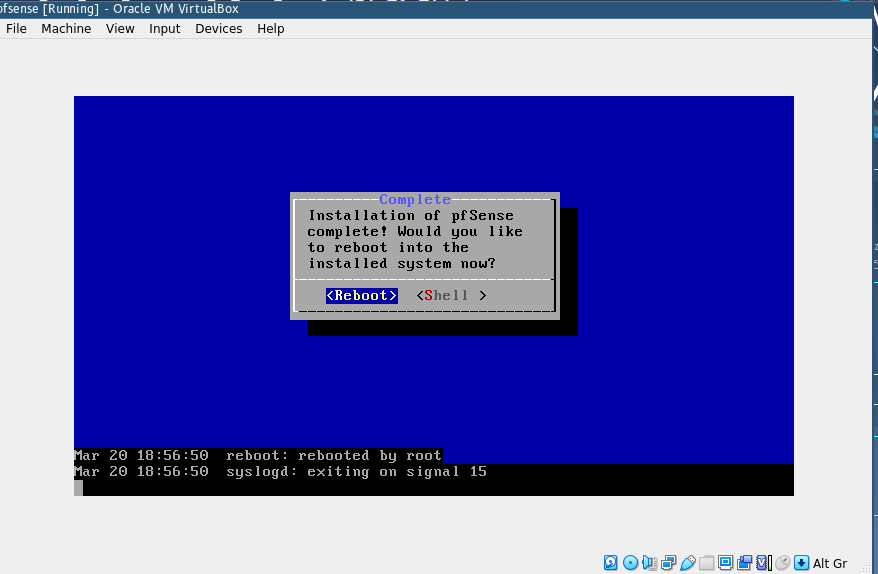
After the installation is complete, exit virtualbox, you can now plug in the flash drive to the machine that you will run pfsense on and configure it.
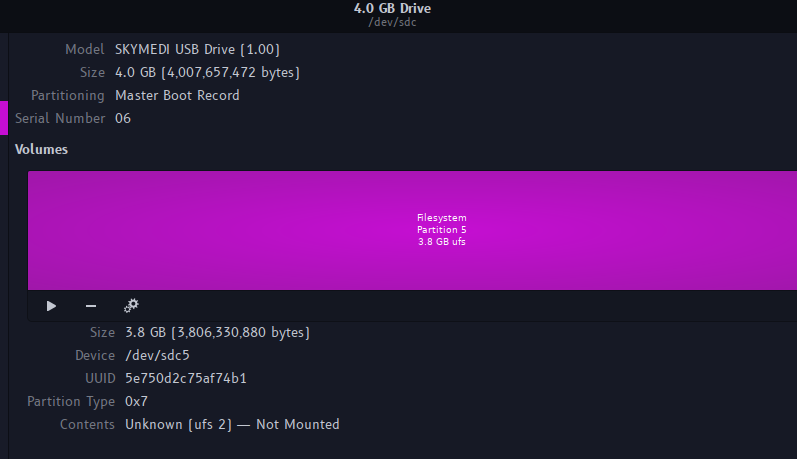
My USB Flash Drive after installing pfSense
TODO: Add the configuration part
Video tutorial:
Mirror link (Peertube):
https://invidio.us/xc8flnfe9wM
https://peertube.social/videos/watch/42d9ee5e-f80a-4b8c-96df-9cd869b5c501
https://tube.22decembre.eu/videos/watch/ce0b8c22-b269-41cd-8062-a780b5766b1c
References:
https://www.pfsense.org/download/
https://docs.netgate.com/pfsense/en/latest/wireless/802-11n-wireless-support.html